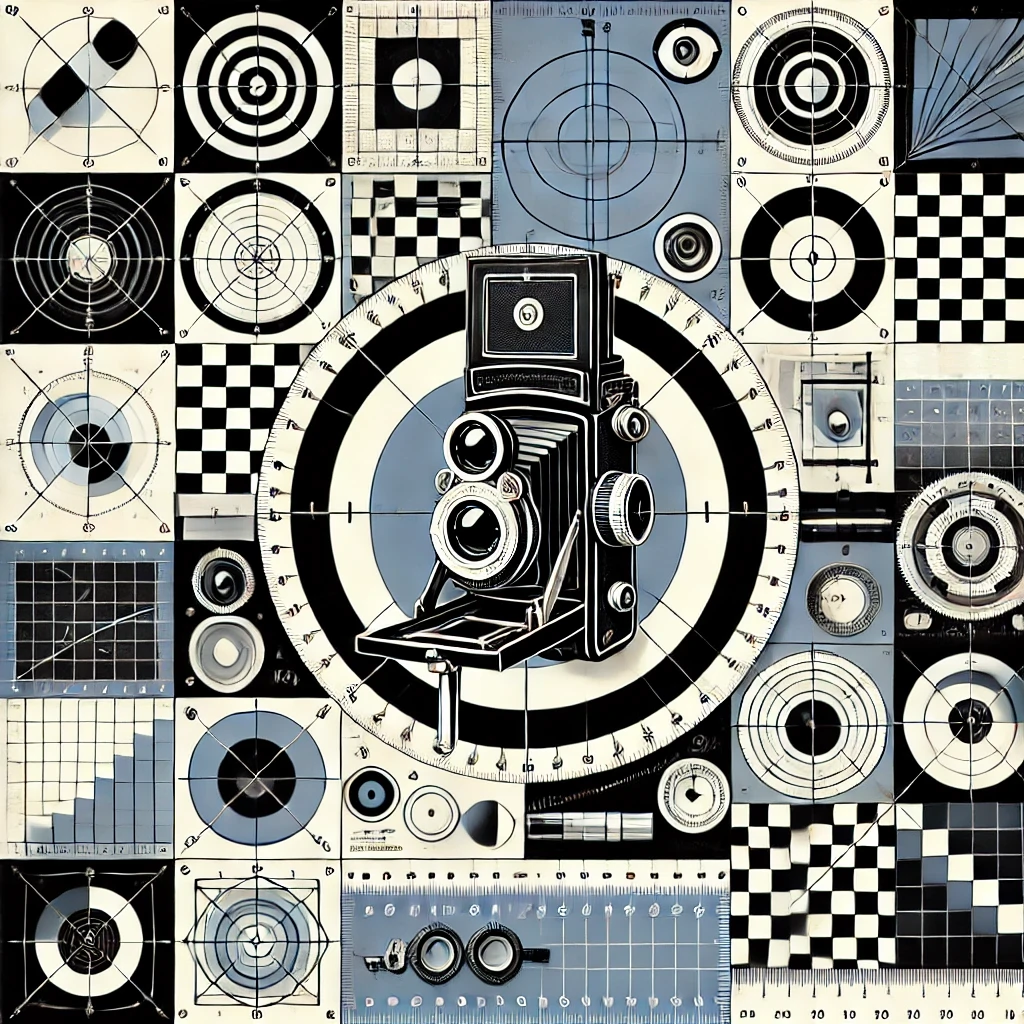
Camera Calibration: What to perfect before touching the code
December 12, 2024
11 mins read
This article is part of a series on camera calibration that has accumulated practical tips over more than a decade of experience. The series is not intended to be a comprehensive beginner’s guide to camera calibration or to provide instructions for a state-of-the-art optical laboratory setup. Rather, it focuses on the practical aspects of camera calibration in real-world environments with limited resources or DIY scenarios, while aiming to achieve the best possible results. This article explores physical aspects of calibration prior to processing calibration images.
Introduction
Camera calibration is the process of obtaining camera extrinsic and intrinsic parameters. These parameters are essential for performing accurate photogrammetry tasks and are also applicable when it is necessary to determine the camera’s pose relative to a known world origin point.
In an ideal scenario, if we had an exact mapping of each pixel into precise positions in the world coordinate system, we could directly use those values to compute accurate camera calibration. However, reality is far from this ideal scenario. Mapping for each pixel is typically unavailable, world coordinates, if known at all, are known with some degree of uncertainty, and as discussed below, obtaining the accurate position of a pixel object in the sensor image is also non-trivial. In this post, we will discuss tips and techniques to make the calibration process closer to the ideal case.
Understanding Optics
The effective focal length of a lens changes with the focus distance, leading to an effect called ‘focus breathing’. There are telecentric lenses that minimize this effect through their design. However, in real-world applications, despite the ease of calibration for telecentric lenses, these expensive pieces of optics still exhibit some measurable level of focus breathing. Ultimately, this means that camera calibration should be performed at the focus distance matching the actual lens use case. The same applies to the aperture setting. In summary, calibration should be performed on each individual camera-lens system after setting the optical parameters. Any change in these parameters will invalidate the calibration results, and new calibration is required.
It is also crucial to fix the lens focus with a screw or other means available for a particular lens during the entire duration of the calibration process and, ideally, throughout its usage. Repetitive focus setting in real-world applications is hardly achievable, so if the lens focus was changed and then returned to what seems to be the same position, the calibration results would not be as accurate as they were during the original calibration. It is also important to keep in mind that the lens focus can be affected by thermal expansion effects due to changes in ambient temperature and that there may be a gradual drift in the focus settings over time due to natural vibration. All of these factors mean that calibration cannot be ideally accurate, and its accuracy may change over the long-term use of the optical setup. It means that, in many cases, calibration is not a one-time process — periodic validation and recalibration may be essential to maintaining long-term performance in real-world applications.
Note that different optical designs of lenses require different camera models for the calibration process, for example, OpenCV has different set of functions for a standard lens calibration (cv2.calibrateCamera) as well as a set of functions for fisheye lens (e.g., cv2.fisheye.calibrate).
Colour Image
Usually, a camera calibration approach assumes grayscale image. In the case of a colour camera, the sensor pixels are covered with alternating colour filters following the Bayer pattern or other colour arrangement and the final image is the result of interpolation of the colour subpixels, essentially meaning that the colour image pixel values do not represent what was actually seen by the camera. It is commonly said that a colour camera is just a grayscale camera, which is spoiled by colour filters.

The Bayer arrangement of color filters on the pixel array of an image sensor. Image from Wikimedia Commons.
At the same time, there are cases when a colour image is produced without spatial separation of different colours, and hence these sensors have no impact of the colour nature of images on the calibration accuracy. For example, in Foveon sensors, colour separation is achieved by photon penetration depth into silicon, resulting in demosaicing-free colour image perception with some potential loss of colour accuracy. In addition, there are solutions with external colour separation, like three-chip RGB sensors with prisms or just an external set of colour filters applied alternately to a grayscale camera to capture individual colours for stitching the data later, as is commonly done in astro-photography. Despite the advantages of demosaicing-free colour images, they are very rare.
So, in the case of using a colour image for camera calibration, make sure that the proper algorithm is used to account for the impact of the image demosaicing process. Demosaicing algorithms affect how edges and high-frequency details are reconstructed, meaning that demosaiced images may be less accurate as a data source for precise keypoint localisation. Therefore, raw data from sensors is generally preferred in all cases.
Calibration pattern
The pattern
The simplest and most common calibration pattern is the checkerboard pattern [1]; however, there are several other options. OpenCV calibration methods can be used with various patterns, and there is a versatile OpenCV script available for generating these patterns [2].
| Pattern Type | Checkerboard  |
Circleboard  |
ChArUco Board  |
|---|---|---|---|
| Positives | - High contrast for easy detection - Precise subpixel corner detection - Simple to create and widely supported by calibration libraries - Reliable for both intrinsic and extrinsic parameter estimation |
- Less affected by defocus or blur - Potentially more accurate subpixel localisation than checkerboards - Better performance on non-planar surfaces - Accurate determination of circles using all peripheral pixels - Robust to image noise |
- Calibration possible even with partially visible patterns - Ideal for stereo/multi-camera setups - Improves accuracy on high-distortion lenses |
| Negatives | - Vanilla implementation requires full pattern visibility - Sensitive to aliasing and lighting conditions - Requires planar surface - Suboptimal for wide-angle lenses with strong distortions |
- Requires a more sophisticated detection algorithm - Circles appear as ellipses under perspective, requiring rectification - Lens distortion makes the circles look not as ideal ellipses, so the calibration algorithm is more complex |
- Requires preprocessing to extract chessboard and ArUco marker information - Slightly less accurate in subpixel localisation compared to circleboard - More complex approach |
| Best Use Cases | - Basic monocular and stereo calibration where flat, planar surfaces are available | - Curved or non-planar surfaces - Expected defocus or blur - High-accuracy calibration in scenarios with short focal lengths and large circles |
- Situations with partial pattern occlusion - Multi-camera setups - Challenging environments requiring robust calibration |
| Special Considerations | - Needs uniform lighting for better accuracy | - Software tools must accurately handle ellipse fitting - Accurate accounting for lens distortion is not trivial |
- May fail in low-resolution regions |
Apart from the listed calibration patterns, there are also multiple novel approaches addressing different use cases. For example, PuzzleBoard [3] proposes a calibration pattern that combines the features of the checkerboard with positional codes.

PuzzleBoard pattern. Image from [3].
The physical board for calibration
Once the optimal pattern is decided, one needs to produce it in the real world. As mentioned before, calibration should be performed with a lens already focused at the distance corresponding to the final use case scenario. This means that a quite large calibration pattern may be required if the camera needs to focus on a long distance so that all details of the pattern can be recognised in the camera image.
-
The pattern must be produced with the highest possible quality. Ideally, geometric errors of the pattern should be «1 px (i.e., the imperfections of the pattern should translate into errors in the image with much less than 1 px deviations, as camera calibration algorithms have sub-pixel accuracy for keypoint localisation). Check the printed pattern for accurate geometry using a highly precise measurement tool. Out of experience, 2 out of 3 commercial printing companies are unable to provide checkerboard squares with deviation <1%. Verify that right angles are indeed right angles and there is no skew or other distortion. For example, one can use three points on the pattern with an expected angle of 90 degrees between the corresponding lines (use points as far from each other as possible) and check if the Pythagorean theorem holds true.
-
Laser printers tend to produce more accurate patterns than inkjets, but professional manufacturing of the calibration target is preferable overall. Matte paper or printing material is preferable, as a glossy surface may cause specular highlights, reducing the accuracy of keypoint detection.
-
The flatness of the calibration pattern is as important as its shape. Check the board edges to verify that it is indeed flat. A laser beam can also be very handy for verifying board flatness. A simple solution is to print the pattern on foam, which is often used in interior decoration and thus easy to source from a producer. The result is a ready calibration board that may only need a frame for sturdiness. However, the results may not be as accurate as possible, and such a board tends to bend. Probably the flattest surface one can easily access is glass; therefore, one of the most accurate calibration patterns created with commonly available tools are made by applying a thin paper pattern print to framed glass. Some experiments may require finding a glue that does not cause geometric distortion as it dries off. Self-adhesive film usually does not allow for accurate geometry.
Collecting Calibration Images
- Ensure the calibration patterns cover the entire frame across all calibration images set. Pay special attention to corners, which are crucial for distortion estimation.
- Capture images at a distance corresponding to the use case after focusing and setting the camera. Take into account the Depth-of-Field to avoid out-of-focus artefacts. Include a variety of orientations, with the board parallel to the sensor and tilted up to ±45° along both axes to measure foreshortening accurately, which is important for intrinsic parameters calibration.
- Ensure good even lighting. Shadows or uneven illumination reduce detection accuracy, especially, for the checkerboard-family patterns.
- In many cases, it is more practical to move the camera relative to the calibration target rather than moving the board itself. This approach simplifies the process, especially when dealing with larger calibration boards that may be bulkier and susceptible to bending during movement. Additionally, ensuring consistent lighting becomes more challenging when moving a large calibration board.
- Both the camera and the calibration board should remain completely stationary while capturing the calibration frames. Secure them to tripods or other mounting devices to prevent any movement that could impact the calibration process.
- If only a portion of the sensor is used for capturing images, it is essential to consistently utilize the same part of the sensor during both the calibration process and subsequent operations. Otherwise, the calibration results, particularly the principal point position and the distortion parameters, may become invalid. However, some of the relevant effects can be accounted for through proper calculations.
Conclusion
Camera calibration is a foundational step in ensuring the accuracy and reliability of vision-based systems. While the process may seem straightforward, achieving high precision requires careful consideration of physical, optical, and environmental factors. From choosing and producing the right calibration pattern to accounting for lens-specific features and optimising the calibration experimental setup, every detail contributes to the overall success.
In the next article, we will dive deeper into the intricacies of camera calibration algorithms.
References:
[1]: Camera calibration with OpenCV
[2]: OpenCV tutorial: Create calibration pattern. Pattern images in the post are from the source.
[3]: P. Stelldinger, N. Schönherr, and J. Biermann. PuzzleBoard: A New Camera Calibration Pattern with Position Encoding // arXiv:2409.20127, GitHub code.